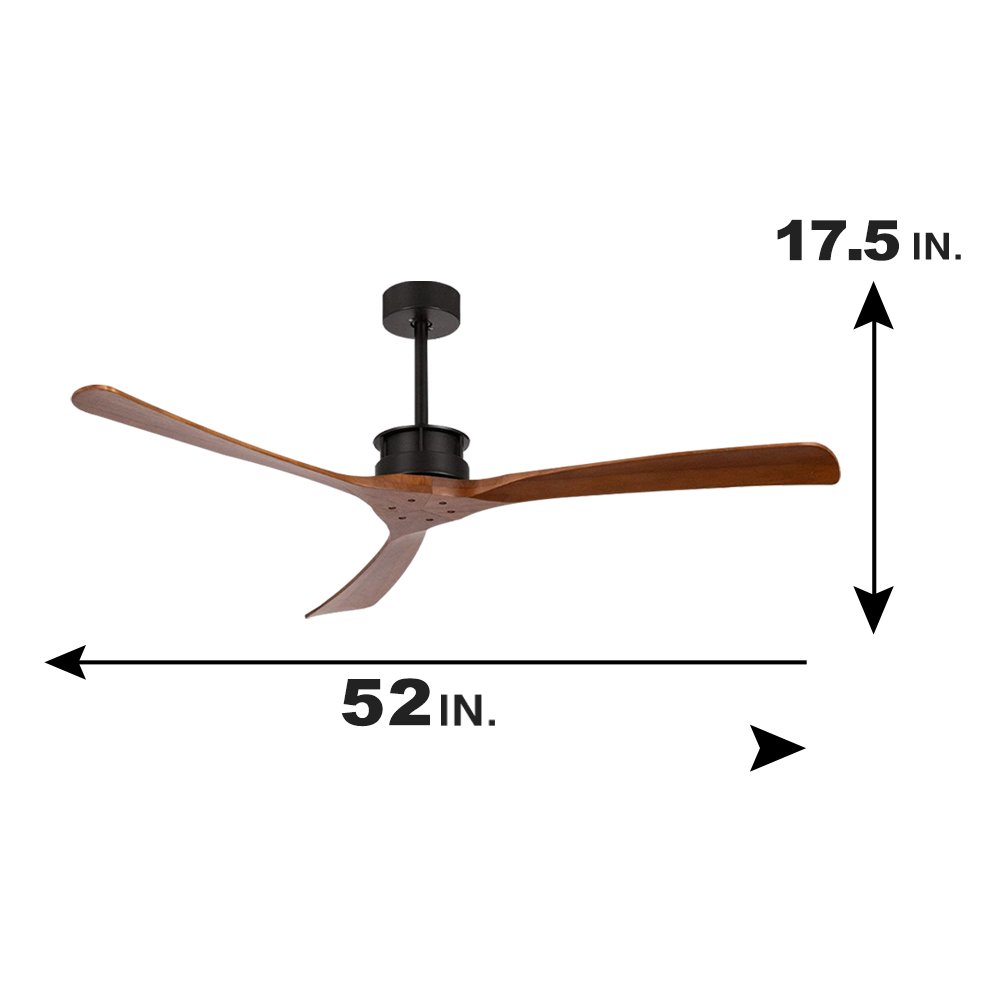
We accept OEM & Customization. Low MOQ, Easy To Start. MOQ: 50 PCS.
Installation steps of a solid wood ceiling fan (without light)
Installing a solid wood ceiling fan (without light) requires careful attention to safety and proper wiring. Below are the step-by-step installation instructions:
Tools & Materials Needed:
- Ceiling fan kit (with mounting bracket, screws, and downrod)
- Screwdriver (Phillips & flathead)
- Wire stripper/cutter
- Voltage tester
- Ladder
- Adjustable wrench
- Electrical tape
- Wire nuts
- Pliers
- Stud finder (if not mounting to an existing junction box)

Installation Steps:
1. Turn Off Power
- Locate the circuit breaker and turn off power to the ceiling fan’s electrical box.
- Use a voltage tester to confirm no electricity is flowing.
2. Check Ceiling Support
- Ensure the electrical box is rated for ceiling fans (must support at least 50 lbs).
- If replacing an existing fixture, verify the box is fan-rated. If not, install a metal fan-rated box secured to a ceiling joist or use a ceiling fan brace.
3. Assemble the Fan Components
- Follow the manufacturer’s instructions to assemble the fan:
- Attach the downrod to the motor housing.
- Secure the mounting bracket to the motor (if not pre-attached).
- If blades are separate, attach them to the blade holders using provided screws.
4. Install the Mounting Bracket
- Remove the existing fixture (if applicable).
- Secure the mounting bracket to the ceiling box using the provided screws.
- Ensure it is tightly fastened.
5. Hang the Fan Motor
- Lift the fan motor and hang it on the mounting bracket (usually via a hook or pin).
- Let it rest temporarily while wiring.
6. Connect the Wiring
- Fan Wires:
- Black (Hot/Live) → Connect to house black (or red) wire.
- White (Neutral) → Connect to house white wire.
- Green/Bare (Ground) → Connect to house ground wire (or grounding screw).
- Secure connections with wire nuts and wrap with electrical tape.
- Tuck wires neatly into the electrical box.
7. Secure the Fan to the Bracket
- Align the fan motor with the bracket and fasten it securely (usually with screws or a locking mechanism).
- Ensure no wires are pinched.
8. Attach the Blades
- If not pre-installed, attach the blades to the motor using the provided screws.
- Tighten evenly to prevent wobbling.
9. Install the Canopy & Finishing Touches
- Slide the canopy cover up and secure it to hide wiring.
- Ensure all screws are tight.
10. Restore Power & Test
- Turn the power back on at the breaker.
- Test the fan at different speeds using the pull chain or remote (if included).
- Check for wobbling—if present, balance the blades using the included balancing kit.
Safety Tips:
✔ Always turn off power before working.
✔ Use a sturdy ladder and have a helper if needed.
✔ Ensure the fan is at least 7 feet above the floor and 18 inches from walls.
✔ If the fan wobbles, check blade alignment and tighten screws.
If unsure about wiring, consult an electrician. Enjoy your new solid wood ceiling fan!
