We accept OEM & Customization. Low MOQ, Easy To Start. MOQ: 50 PCS.
White solid wood ceiling fan with light. Installation steps and features
Installing a white solid wood ceiling fan with a light is a great way to enhance the aesthetics and functionality of a room. Below are the general installation steps, features, and some tips to ensure a safe and successful installation. Always refer to the specific manufacturer’s manual for your ceiling fan model, as instructions may vary slightly.
Features of a White Solid Wood Ceiling Fan with Light
Before diving into the installation, here are some common features of a white solid wood ceiling fan with a light:
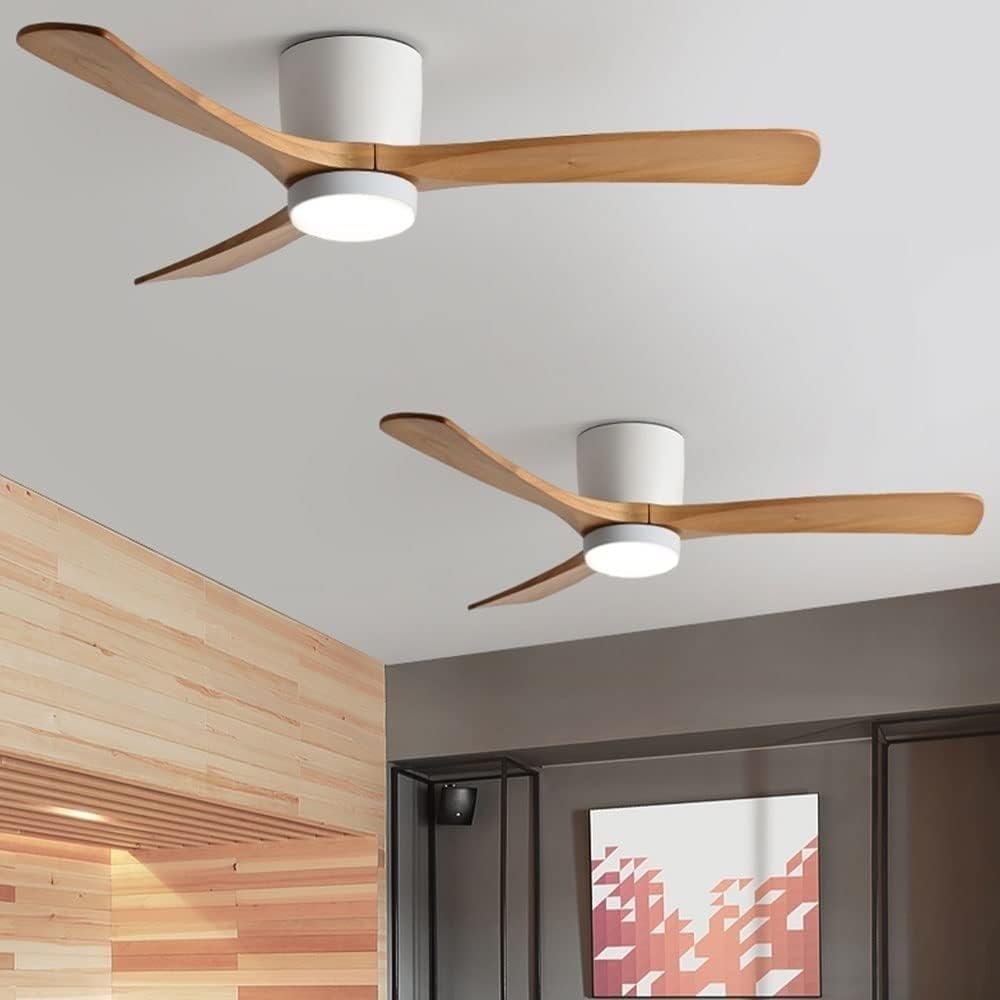
- Design and Aesthetics:
- White finish for a clean, modern, or coastal look.
- Solid wood blades for durability and a natural, elegant appearance.
- Integrated or detachable light kit for added illumination.
- Functionality:
- Multiple speed settings (usually 3–5 speeds) for customizable airflow.
- Reversible motor for year-round use (summer cooling and winter heat distribution).
- Remote control or wall switch operation for convenience.
- Energy-efficient LED lighting (in most modern models).
- Performance:
- Quiet operation, ideal for bedrooms, living rooms, or offices.
- Suitable for medium to large rooms, depending on blade span (typically 42–60 inches).
- Energy-efficient motor to reduce electricity costs.
- Safety and Durability:
- Solid wood blades are sturdy and resistant to warping (if properly sealed).
- Designed to meet safety standards for ceiling-mounted fixtures.
Tools and Materials Needed
Before starting, gather the following tools and materials:
- Screwdriver (Phillips and flathead)
- Wire stripper
- Voltage tester
- Drill and drill bits (if needed for mounting)
- Step ladder
- Pliers
- Electrical tape
- Wire nuts (usually included with the fan)
- Ceiling fan-rated electrical box (if not already installed)
- Safety goggles and gloves
Installation Steps
Step 1: Safety First
- Turn Off Power:
- Turn off the power to the existing ceiling fixture at the circuit breaker. Use a voltage tester to confirm the power is off.
- Read the Manual:
- Review the manufacturer’s installation manual for specific instructions and safety warnings.
Step 2: Prepare the Ceiling
- Check the Electrical Box:
- Ensure the ceiling has a fan-rated electrical box. Standard light fixture boxes are not strong enough to support the weight and motion of a ceiling fan.
- If needed, replace the existing box with a fan-rated one (consult an electrician if unsure).
- Assemble the Mounting Bracket:
- Attach the ceiling fan mounting bracket to the electrical box using the provided screws. Ensure it is secure and level.
Step 3: Assemble the Ceiling Fan
- Attach the Blades:
- If the blades are not pre-attached, secure the solid wood blades to the blade arms using the provided screws. Do not overtighten, as this could damage the wood.
- Install the Light Kit (if applicable):
- If the fan includes a light, attach the light kit to the bottom of the fan motor housing as per the manual. Connect the light kit wires later during the electrical step.
- Assemble the Downrod:
- If your ceiling height requires a downrod, thread the fan’s wires through the downrod and attach it to the motor housing. Secure it with the provided pin and clip.
Step 4: Mount the Fan to the Ceiling
- Hang the Fan:
- Lift the assembled fan and hang it on the mounting bracket. Most brackets have a hook or slot to hold the fan temporarily while you connect the wires.
- Secure the Canopy:
- Once the wiring is complete, slide the canopy up to cover the mounting bracket and secure it with screws.
Step 5: Connect the Wiring
- Identify the Wires:
- Typically, you’ll see the following wires:
- Black or Blue (fan and light power)
- White (neutral)
- Green or Bare (ground)
- Match these to the corresponding wires in the ceiling electrical box.
- Make the Connections:
- Connect the ground wire (green or bare) from the fan to the ground wire in the ceiling box.
- Connect the white (neutral) wire from the fan to the white wire in the ceiling box.
- Connect the black (fan power) and blue (light power) wires from the fan to the black (hot) wire in the ceiling box. If your fan has separate controls for the fan and light, follow the manual for specific wiring instructions.
- Use wire nuts to secure each connection and wrap them with electrical tape for added safety.
- Tuck the Wires:
- Carefully tuck the connected wires into the electrical box, ensuring no wires are pinched or exposed.
Step 6: Attach the Light Kit and Blades (if not done earlier)
- Install the Light Bulbs:
- Insert the appropriate bulbs (usually LED) into the light kit. Check the manual for the correct wattage and type.
2.Attach the Light Cover:
- Attach the Light Cover:
- Secure the light cover or glass shade to the light kit using the provided screws or clips.
- Attach the Blades (if not pre-attached):
- If you haven’t already attached the blades, do so now, ensuring they are evenly spaced and securely fastened.
Step 7: Test the Fan
- Turn On the Power:
- Turn the power back on at the circuit breaker.
- Test the Fan and Light:
- Use the remote control, pull chains, or wall switch to test the fan speeds and light. Ensure the fan operates smoothly without wobbling or unusual noises.
- Check for Wobble:
- If the fan wobbles, use the provided balancing kit (weights) to adjust the blades. Follow the manual’s instructions for balancing.
Tips for a Successful Installation
- Ceiling Height:
- Ensure the fan blades are at least 7 feet above the floor and 18 inches from walls for safety and optimal airflow.
- Sloped Ceilings:
- If installing on a sloped ceiling, use a sloped ceiling adapter (often sold separately) to ensure proper alignment.
- Professional Help:
- If you’re unsure about electrical work or the structural integrity of your ceiling, hire a licensed electrician or professional installer.
- Maintenance:
- Periodically clean the solid wood blades with a damp cloth to prevent dust buildup. Avoid harsh chemicals that could damage the finish.
Safety Considerations
- Always turn off the power before starting any electrical work.
- Ensure the fan is securely mounted to prevent it from falling.
- Do not exceed the recommended bulb wattage for the light kit to avoid overheating.
- Follow all local building codes and regulations.
By following these steps and taking the necessary precautions, you can enjoy the beauty, comfort, and functionality of your white solid wood ceiling fan with light for years to come!