We accept OEM & Customization. Low MOQ, Easy To Start. MOQ: 50 PCS.
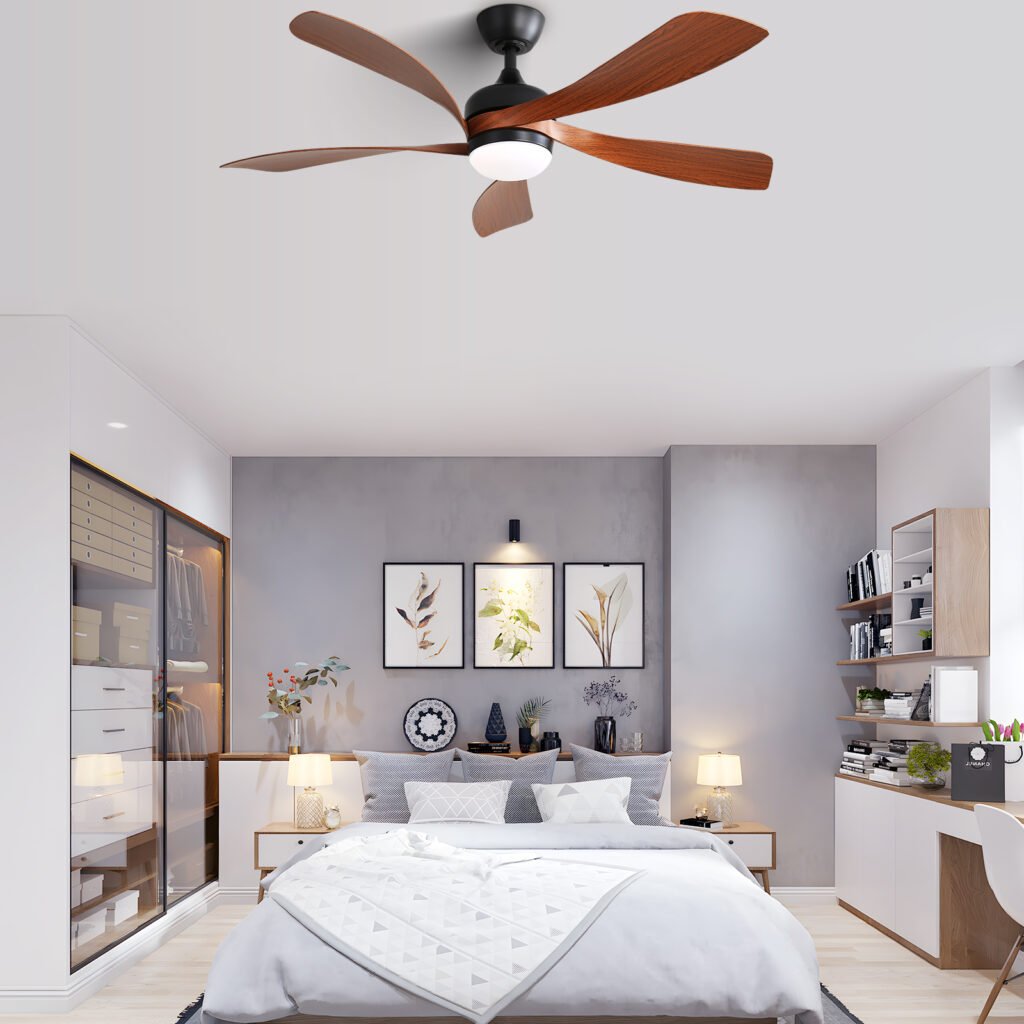
ceiling fan with light and remote for bedroom: Installation steps and precautions
Installing a ceiling fan with a light and remote in a bedroom can be a bit more involved than installing a standard ceiling fan, but with the right steps and precautions, you can ensure a safe and successful installation. Here’s a step-by-step guide to help you through the process:
Tools and Materials Needed:
- Ceiling fan with light and remote control
- Mounting screws and washers
- Downrod extension (if necessary)
- Light kit (if not included with the fan)
- Remote control receiver
- Wall control (if desired)
- Electrical wire nuts or connectors
- Electrical tape
- Ladder or step stool
- Voltage tester
- Safety glasses
Preparation:
- Turn off the power: Switch off the power to the circuit at the main electrical panel. Verify that the power is off using a voltage tester.
- Choose the right location: Select a location for the fan that is at least 7 feet above the floor and at least 18 inches away from any walls or obstructions.
- Check the ceiling: Ensure that the ceiling can support the weight of the fan and any additional features (such as a light kit).
Installation Steps:
Step 1: Mount the Fan
- Locate the mounting bracket: Find the mounting bracket that came with the fan. Attach it to the ceiling electrical box using the screws provided.
- Hang the fan: Carefully lift the fan and hang it from the mounting bracket. Make sure it is securely seated.
Step 2: Connect the Wiring
- Identify the wires: Identify the wires from the fan and the electrical box:
- Black (hot) wire
- White (neutral) wire
- Copper (ground) wire
- Blue (light) wire (if applicable)
- Connect the wires: Connect the wires from the fan to the wires from the electrical box using wire nuts or connectors:
- Black to black (hot)
- White to white (neutral)
- Copper to copper (ground)
- Blue to blue (light) (if applicable)
- Secure the wires: Use electrical tape to secure the wires and keep them organized.
Step 3: Install the Light Kit (if applicable)
- Attach the light kit: Follow the manufacturer’s instructions to attach the light kit to the fan.
- Connect the light wiring: Connect the light wiring to the fan wiring:
- Blue (light) wire to the light kit
Step 4: Install the Remote Control Receiver
- Locate the receiver: Find the remote control receiver and attach it to the fan or the mounting bracket.
- Connect the receiver wiring: Connect the receiver wiring to the fan wiring:
- Typically, the receiver has a black (hot) wire, a white (neutral) wire, and a copper (ground) wire
Step 5: Install the Wall Control (if desired)
- Choose a location: Select a location for the wall control that is convenient and accessible.
- Run the wiring: Run the wiring from the wall control to the fan or receiver.
- Connect the wiring: Connect the wiring to the fan or receiver:
- Typically, the wall control has a black (hot) wire, a white (neutral) wire, and a copper (ground) wire
Step 6: Test the Fan and Light
- Turn on the power: Switch on the power to the circuit at the main electrical panel.
- Test the fan: Test the fan to ensure it is working properly.
- Test the light: Test the light to ensure it is working properly.
Precautions and Safety Considerations:
- Always turn off the power: Before starting the installation, ensure that the power is off to avoid electrical shock or injury.
- Use a ladder safely: Use a ladder or step stool safely and always maintain three points of contact (two hands and one foot, or two feet and one hand).
- Wear safety glasses: Wear safety glasses to protect your eyes from debris or electrical sparks.
- Follow manufacturer’s instructions: Follow the manufacturer’s instructions for specific installation requirements and recommendations.
- Check local electrical codes: Check local electrical codes and regulations to ensure compliance.
By following these steps and taking the necessary precautions, you can ensure a safe and successful installation of your ceiling fan with a light and remote in your bedroom.